
A look at Document Management in MEX
Documents can be a large part of running your MEX System. Knowing how they work in MEX is important so that you know what can and cannot be done with them.
One of the first things that should be decided with your documents is where they are going to be stored. By default, this will be in the Documents folder of the MEX Web Files for your system which is located wherever your MEX is hosted. This can however be changed if you’d prefer.
From the main menu of MEX, if you go to Control Files, you will be presented with this screen:
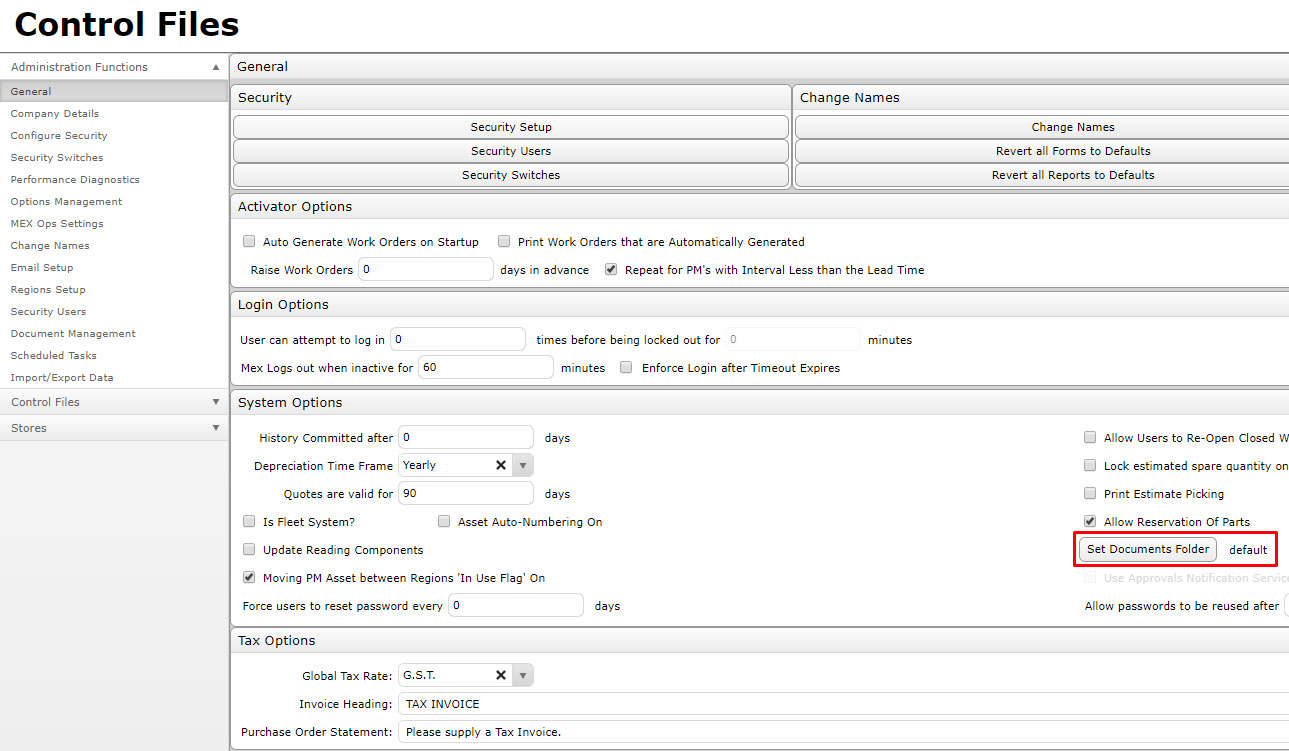
The location that has been marked is where you can choose a different document path for your documents to be stored in.
Please Note: This will only move documents going forward, all existing documents will need to be moved manually.
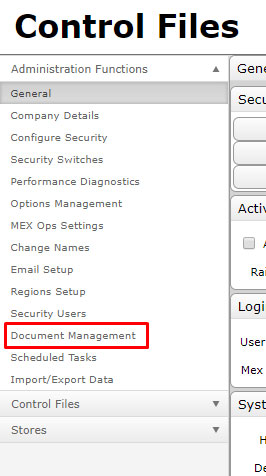
Another function of the Control Files is Document Management. This is where you can manage all of the Documents that are attached to anything within MEX. This makes it useful if you want to find which Assets have a particular Document attached or you could use it to see which Assets don’t have any Documents attached. This can be found in the Administrator Functions of Control Files as shown below.
The first time you load the Document Management Module, you should be greeted with a page like this.
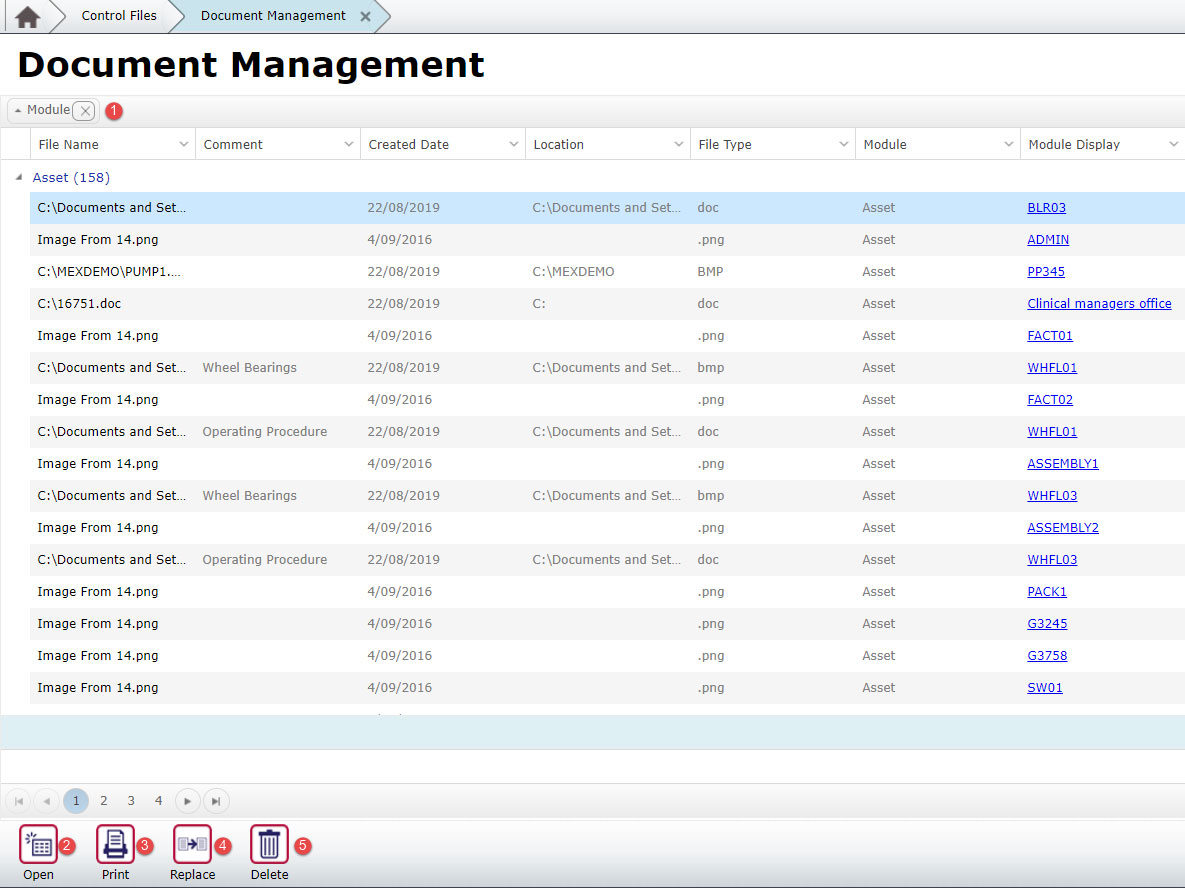
- This is the grouping bar. Any column header that you drag here will cause everything to group based on available options. You can remove the grouping at any time by clicking on the X for that particular module. As you can see above, it is currently grouping on Module which is why you see Asset, rather than a list of all of your possible documents.
- The Open button will open the document for the record you have selected.
- The Print button will print out a copy of the selected record as long as it has a valid location.
- The Replace button will replace the chosen record’s attached data with a file you can navigate to. You will only be able to replace documents that have a valid location to begin with.
- The Delete button will remove the highlighted document record from the MEX system.
Please Note: You can see in the bottom right corner that it is showing the first 50 records. This means that it will only show the modules of the first 50 Records. If you were to go through the page numbers in the bottom left corner, you would get each of the modules for the next 50 records.
MEX does have the power to list this data on a single page by enabling the ‘Endless Listings’ user option. Please see the Tech Tip linked below for information on how to set this up, it will require caching to be enabled.
There is some extra functionality for working with the Documents themselves. You can read more about this by following these links:
- The ability to drag and drop documents into MEX
- Attaching Documents to an Asset
- Editing an existing Document through MEX
For security purposes, it is also possible to create a whitelist of allowable document types. This will make it possible to only include specific types of Documents. In order for this functionality to be applied to your system, please contact MEX Support at support@mex.com.au or +61 7 3392 4777.