
An Indepth Look at MEX Server Migrations
In this article we take a look at server migration. The term server migration might sound fanciful and technical, like you need an IT degree just to look at a server. But with the help of this article and a few of the other resources, you will see that given the right knowledge, even you could migrate your own MEX data.
You first have to understand why you are migrating your server. Typical cases are:
- An upgrade of hardware is required, allowing your systems to run faster and more reliably.
- As a preventative measure as older hardware may cease to run at any time.
- Often you may just want another instance of MEX to test on, which doesn’t affect your real system.
If your reason is for testing, you probably don’t even need to migrate servers at all. Here is a tech tip to help you set up a test instance: Creating a New Instance of MEX Tech Tip
Two Sides to the Migration
There are two parts to a complete MEX server migration:
- Database
- Data Server
Depending on your situation you may only need to migrate one or the other but let’s start with Database Migration.
Database Migration
Before even beginning a database migration you have to check if the server you are migrating to has the same version of SQL or has a higher version installed. You won’t be able to continue if the new server has a lower version.
To do this, simply open the SQL Server Management Studio and got to Help -> About. This will tell you exactly what version of SQL you are running.
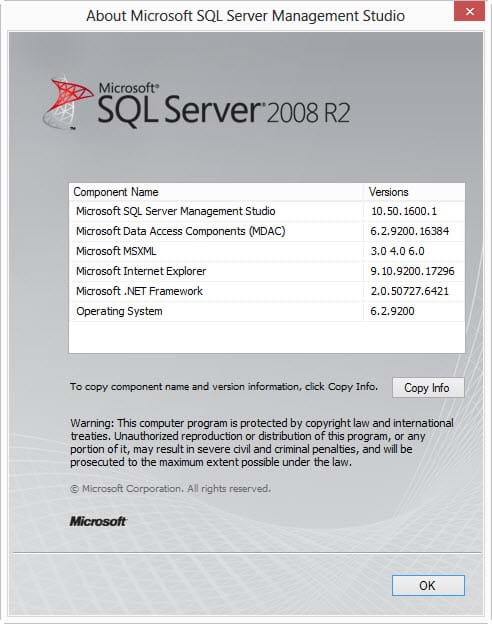
SQL Server Version Example.
Carrying out the Migration
Once you’ve checked this, migrating a database only consists of three steps.
- Step one - Back up your database.
- Step two - Restore the database on the new server.
- Step three - Ensure the Mex User SQL account has permissions to access the newly restored database.
Once you’ve finished these steps, your database migration is done.
It is highly recommended to set up an automatic backups which we’ve explained in a tech tip found here: Schedule Automatic SQL Database Backup
Data Server Migration
To ensure that the new server is capable of running your MEX data. A few things will need to be set up correctly.
- Firstly you’ll need the MEX Data Server Installer, which you can download from the MEX User Portal
- Secondly, you will need to confirm the connection details of the database you just migrated.
The database connection details are usually found in the following format:
- The SQL Server Address will be the servers IP Address with a back slash and the name of your SQL server instance. E.g. 192.168.2.2/MEXSQLServerInstance
- The name of your MEX database is usually MEXDB
- The user name and password are usually both MexUser.
Now run through the Data Server installer on the new server and follow the prompts. Eventually it will ask you to put in the connection details to your newly migrated database, as explained above.
At the end of the installation process it will give you a link to run MEX in your browser which you should pass onto your MEX Users.
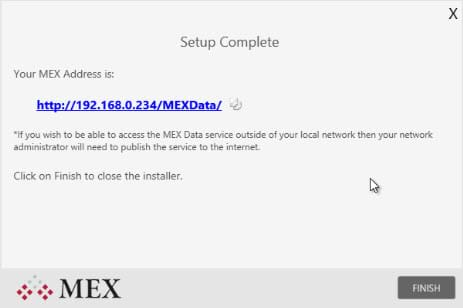
Your Link to access MEX will be provided at the end of the install
Migrate Your Documents
With MEX successfully installed on your new server, it’s a good idea to copy the MEX Documents folder from the old server into the new one.
- Starting on your old server go to the following directory: C:\inetpub\wwwroot\MEXData\Documents
- Copy all the Documents in this Directory
- Go to your new server and paste these files in the newly created MEX documents directory.
Turn off MEX on the Old Server
Now you’re done, but with a few final considerations: MEX on the old server must be turned off.
This is so users don’t waste time using an out of date instance.
It’s always a good idea to put in place a redirection HTML file to cater for any user who still ends up on the old server through an old MEX link.
Here is an example:
<!DOCTYPE html PUBLIC "-//W3C//DTD XHTML 1.0 Transitional//EN" "https://www.w3.org/TR/xhtml1/DTD/xhtml1-transitional.dtd">
<html xmlns="https://www.w3.org/1999/xhtml">
<head>
<meta http-equiv="Content-Type" content="text/html; charset=utf-8" />
<title>MEX Redirection Notice</title>
<meta http-equiv="refresh" content="0; URL=&rsquohttps://NewServerIPAddress/MEXData&rsquo" />
</head>
<body>
<h1>MEX Redirection Notice</h1>
<p><strong>MEX is no longer hosted at this address.</strong></p>
<p>You will be redirected shortly to the new server. </p>
<p><a href="https://NewServerIPAddress/MEXData" title="New MEX Server">Click Here</a> if you are not redirected in 10 seconds.</p>
</body>
</html>
Just copy and paste this code into notepad and do the following
- Change the https://NewServerIPAddress/MEXData highlighted above to your new MEX Address.
- Save this file as index.html on your desktop
- Paste the file in the C:\inetpub\wwwroot\MEXData directory on the old server.
Email Users of the Change
Of course, it’s a good idea to send an email out letting everyone know the new address of MEX. As I said before, the address can be found in the last screen of the data server installer (as pictured above).
MEX Data Hosting Service
Configuring and migrating servers isn’t for everyone and that’s not something to feel bad about. In fact, it’s exactly why we provide an online hosting service.
Let us manage all the IT for you! MEX Data Hosting provides you with
- Friendly and comprehensive support.
- 99% uptime
- The ability to access your MEX wherever you have an internet connection.
- An Affordable option, as you don’t even have to buy a new server to migrate your MEX.
We’ll do it for you. For more information go to the MEX Data Hosting Information Page
Having Issues or have Questions?
If you have any questions or issues with notifications please contact MEX Support at support@mex.com.au or call +61 7 3392 4777.
To see more from the Maitland Explains series of MEX Videos, please subscribe to the MEX YouTube Channel and watch the full collection of Maitland Explains Series.