
How to Change Names in MEX
One of the features in MEX Asset Management System that not too many people use is the Change Name feature. If you don’t like the terminology we use by default, you can change fields and many other text labels using this module.
Here are some steps to change the names of your labels in MEX:
For this example we will be renaming Work Orders to Jobs.
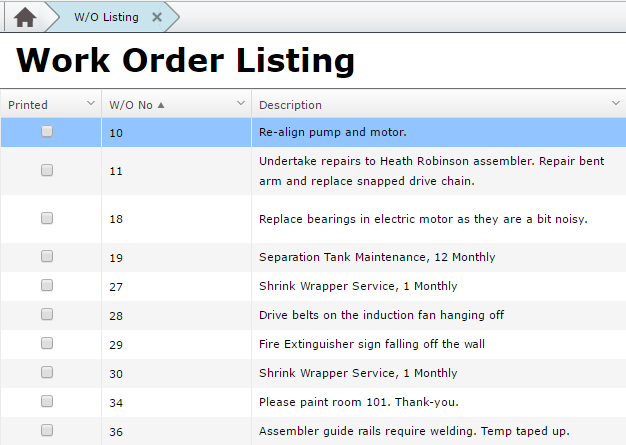
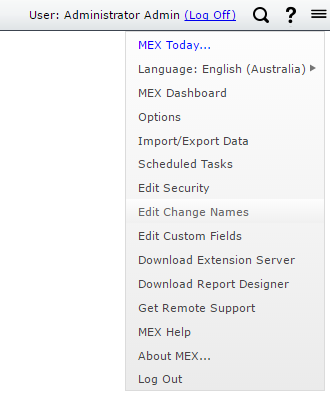
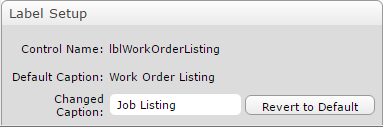
Open up MEX and find the area or labels you wish to rename. Up the very top right hand corner of MEX, click on the System Option Menu (Hamburger Menu) and then select Edit Change Names. This will bring up the Module you were looking at without any data in it. From here, click on a label or header which you want to rename. In the bottom left, it will say what you clicked on, the default text and what you wish to change it to.
Make the changes in the editable text box. I have changed the Work Order Listing to Job Listing. You can also change the labels and the column text as well. Once you’re happy with the changes, close out of this window and restart your MEX
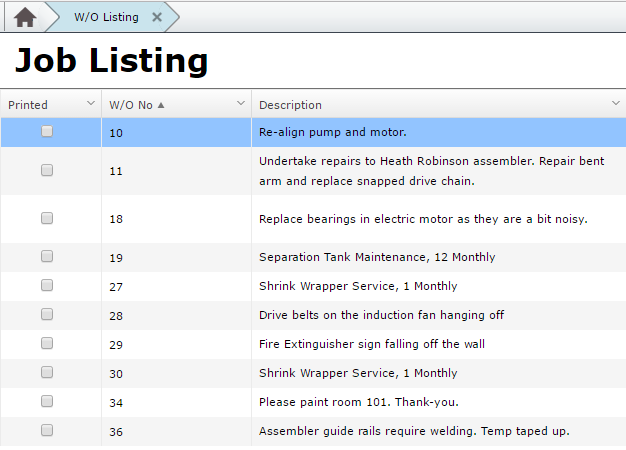
After logging out and back into MEX,your new names should have taken effect!
If you want to change a number of fields or message boxes, you can access the full list of Modules by going to the Control Files and then clicking on the Change Names option on the administration functions.
Please contact MEX Support at support@mex.com.au or call +617 3392 4777 for help with Change Names